UK Drainage Gradients & Falls
Everything from Approved Document H in one page. Calculate gradients, check bedding specs, and find access point spacing.
Gradient Calculator
Enter your pipe details to get the minimum and recommended gradients, plus the fall in millimetres per metre.
Minimum Gradient
1:80
Building Regs minimum
Recommended Gradient
1:40
Self-cleansing flow
Total Fall Required
125mm
12.5mm per metre
Foul vs Surface Water Gradients
Side-by-side comparison. All values from Approved Document H (2015 edition).
| Pipe Diameter | Min. Gradient (1+ WC) | Min. Gradient (no WC) | Practical Self-Cleansing | Fall per Metre |
|---|---|---|---|---|
| 75mm | Not permitted | 1:40 | 1:30 | 25.0mm (at 1:40) |
| 100mm | 1:80 | 1:40 | 1:40 | 12.5mm (at 1:80) |
| 150mm | 1:150 | 1:65 | 1:60 | 6.7mm (at 1:150) |
| 225mm | 1:225* | 1:100* | 1:90 | 4.4mm (at 1:225) |
| 300mm | 1:300* | 1:120* | 1:120 | 3.3mm (at 1:300) |
* Pipes 225mm+ typically require hydraulic design. Values shown are general guidance; consult Approved Document H and your drainage engineer for specific calculations.
Access Point Spacing
Maximum distances between inspection chambers, manholes, and rodding eyes per Approved Document H.
| Access Type | From | To | Max Distance |
|---|---|---|---|
| Rodding eye | Start of drain | Junction / chamber | 12m |
| Inspection chamber | Rodding eye | Inspection chamber | 22m |
| Inspection chamber | Inspection chamber | Inspection chamber | 45m (straight runs, <150mm) |
| Manhole | Manhole | Manhole | 45m (any pipe size) |
| At changes of direction | Access required at every change of direction >45° (rodding eye, inspection chamber, or manhole depending on depth) | ||
Inspection chambers are used up to 1.0m depth. Manholes are required where depth exceeds 1.0m or where pipe diameter exceeds 225mm. All access points must have a clear opening large enough for drain rods or jetting equipment.
Pipe Bedding Classes
Bedding and surround specifications from Approved Document H. The class you need depends on pipe material, ground conditions, and traffic loading.
Class B: Granular Bedding
Most common for plastic pipes
- • 100mm granular bed below pipe
- • Granular surround to 300mm above pipe crown
- • Material: 10mm single-size gravel or pea shingle
- • Use for: standard ground, no vehicular loading directly above
Class S: Concrete Surround
Heavy traffic / poor ground
- • 100mm concrete bed (C20 minimum)
- • 100mm concrete surround all sides
- • Movement joint every 5m to prevent cracking
- • Use for: under roads, car parks, areas with vehicular traffic
Class D: As-Dug Material
Rarely acceptable
- • Native material used as bedding
- • Only where ground is granular and free of stones >40mm
- • Not permitted in clay, chalk, or made ground
- • Rarely passes building control inspection in practice
Class F: Selected Fill Bedding
Good for flexible plastic pipes
- • Selected granular material, max particle size 20mm
- • Compacted in 150mm layers around pipe
- • 150mm below invert, 150mm above crown
- • Commonly specified by Polypipe and Wavin for their products
Practical Tips from Site
The things that aren't in the Building Regs but every experienced groundworker knows.
The 150mm pipe trick for tight gradients
The most common site problem: not enough fall available. A 100mm foul pipe with 1+ WC needs 1:80 (12.5mm per metre). A 150mm pipe only needs 1:150 (6.7mm per metre). Stepping up to 150mm nearly halves the fall you need. On a 20-metre run, that's the difference between needing 250mm of fall versus 134mm. The pipe costs more but the reduced excavation depth usually makes it cheaper overall. This one decision solves the majority of "we can't get the levels to work" situations on site.
Maguire's Rule: the self-cleansing gradient
Divide the pipe diameter by 2.5 to get the practical self-cleansing gradient. So 100mm ÷ 2.5 = 1:40. This isn't in any official document. It's trade knowledge passed down on sites for decades. The Building Regs minimum (1:80 for 100mm) will pass inspection, but 1:40 gives you a gradient steep enough that water flows fast enough to carry solids and keep the pipe clean. If you have the fall available, aim for Maguire's Rule, not the minimum.
The 6-metre plastic pipe problem
LABC (Local Authority Building Control) specifically warns about this: standard 6-metre plastic drainage pipes (Polypipe, JDP, Wavin) bend during storage and transport. If you lay a bent pipe, you get a backfall in the middle of the run, water pools there, solids accumulate, and you get a blockage within months. This is the number one cause of drainage warranty claims according to LABC. The fix: sight along every pipe before laying it. If it's bent, flip it so the bow faces upward (creating a slight crown that settles flat under backfill weight) or reject it. Check your laser across the full run, not just at the joints.
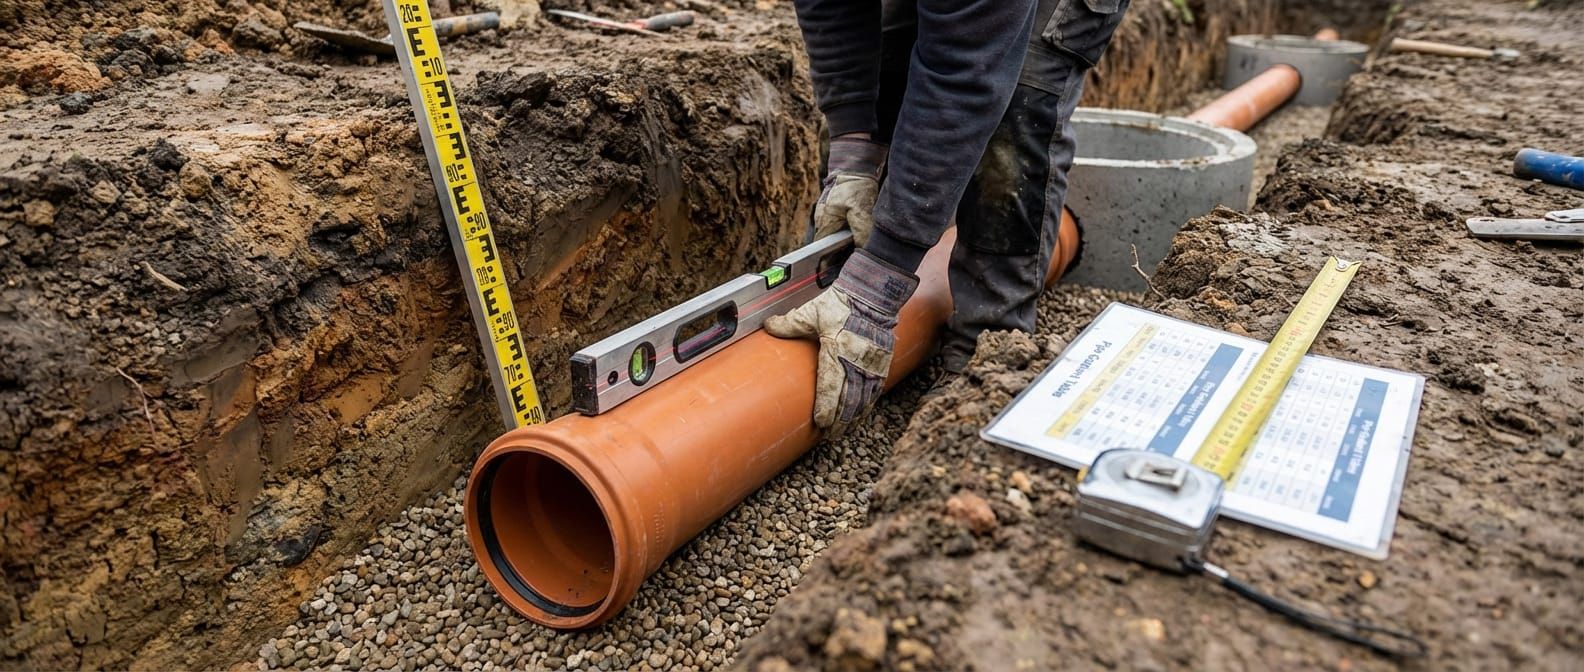
Checking gradients on site
A rotating laser and staff are the standard method, but here's a quick check: for a 1:80 gradient on a 100mm pipe over a 6-metre pipe length, you need 75mm of fall between pipe joints (6000 ÷ 80 = 75mm). Mark 75mm on your spirit level with tape. Place the level on the pipe; when the bubble is centred with the 75mm end lifted, you're at 1:80. Not a substitute for a laser, but useful for a quick sanity check before the next pipe goes in.
Sources
- Approved Document H: Drainage and waste disposal (HM Government, 2015 edition)
- LABC (Local Authority Building Control) technical guidance on drainage installation
- BS EN 1610:2015 Construction and testing of drains and sewers
- Polypipe, Wavin, JDP manufacturer installation guides
Built by Rospower Projects, a specialist groundworks and civil engineering contractor. 35+ years on site.
Discuss Your Project